Are you a boat owner who also wants to know what it’s like to paint a boat?
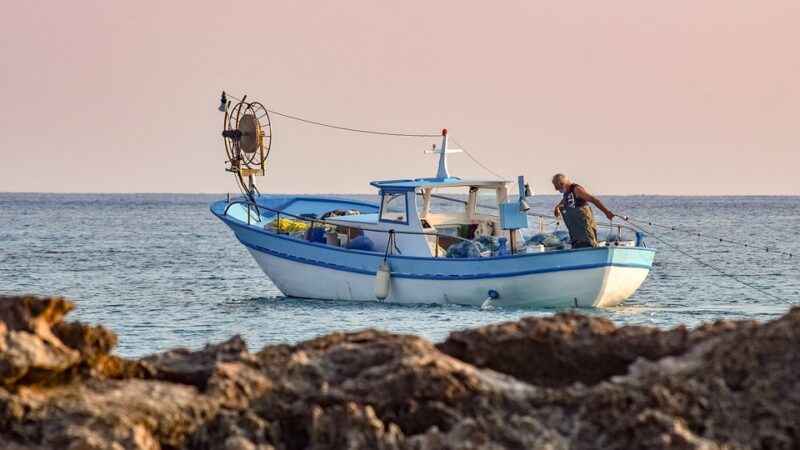
In 2019, the U.S. had over 11.9 million registered and documented boats. Boat ownership is prevalent in the country. However, many boat owners have no idea how to paint their boats, or prepare them for painting, along with other maintenance tricks.
Below, we’ll discuss everything you need to know about boat painting. Continue reading to find out what items you need to gather and how to paint a boat well.
1. Set Up Your Boat and Items
Around 100 million Americans go boating each year. Still, many new owners have no idea about boat maintenance. This doesn’t mean that they don’t want to know how to fix, repair or upgrade their boat, this simply means that they never had a chance to do it, which is why we are discussing a crucial step to boat maintenance: painting.
When it comes to painting your favorite water friend, there are certain things you should know. Firstly, make sure to always do your homework before you start working on something new and foreign. The same goes for your boat as well. What do we mean by this? Not every paint is the same quality, nor every technique would work for your boat.
That being said, doing your research beforehand will bring you nothing but useful information. It allows you to know the best paint brand for your boat. When you set it up, the next thing you should pay attention to is ensuring that you are in a well-ventilated work area.
Remember the safety precautions for painting, as well. Wear protective gears even when using non-toxic paints. It includes a facemask, a pair of goggles, and gloves. When it comes to painting of any kind, and especially this type, these are the essentials.
2. Prepare Your Boat for the Boat Painting
One of the most Googled questions are questions about preparation for the very process. This clearly shows that the majority of boat owners arw concerned about the preparation and are not quite sure where to start: do they need to sand the old paint or not, use special chemicals or not etc.
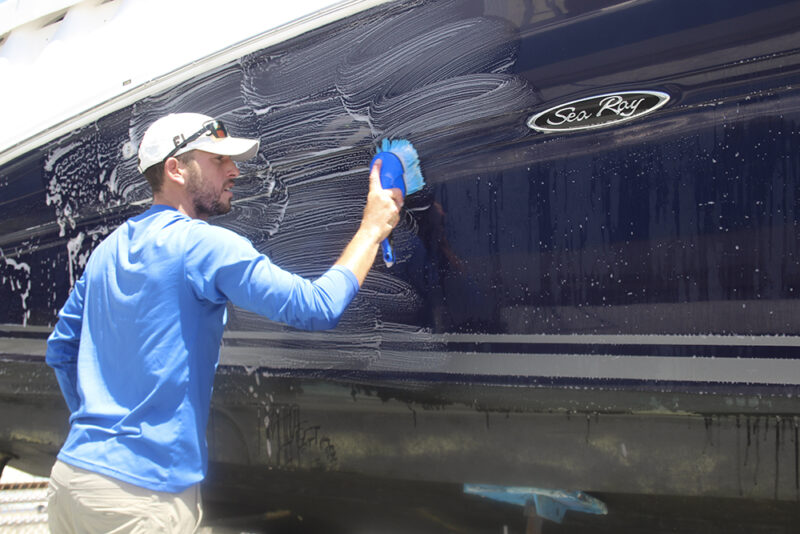
However, it has been proven that firstly you need to remove the attached boat hardware, like rails, cleats, and vents. If the boat has any teak or wood trim, remove them as well. After that, only in case that your boat is damaged in several places, repair any surface imperfections before repainting. If that’s not the case then you can simply skip to the surface prepping. Finally, you your next steps should be to wash then de-wax, and thirdly, sand the surface to even the paint, after which you can go to the next step.
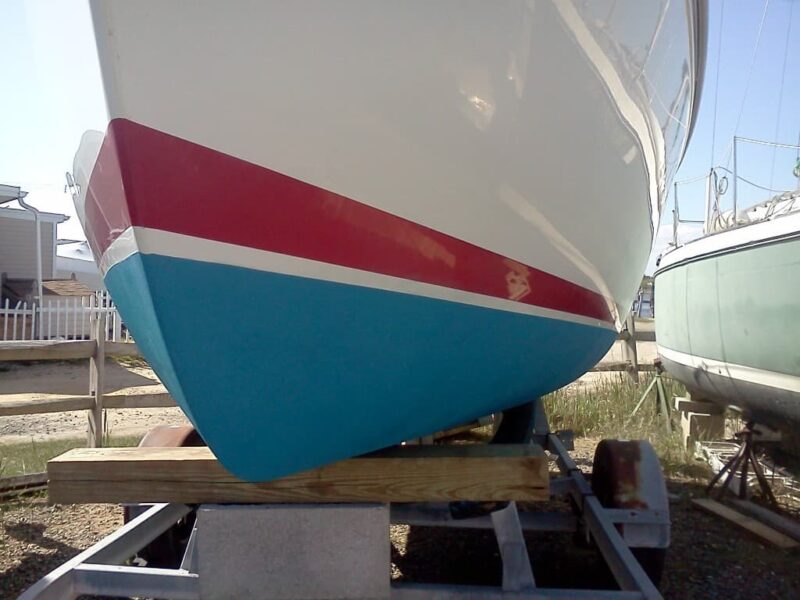
3. Apply Primer and the Boat Paint Job
After the previous step, you’re ready to jump to the fun part of boat painting, or in other words – the main one. It is important to mention that a good preparation is equally, if not more important than the very process of painting. Why? The answer is simple. If the surface is smooths and has little to no imperfections and it’s ready to absorb the paint equally and with no issues, then you know you did a good job beforehand.
Before you add the paint, don’t forget to apply the primer, wait for it to dry and then you can finally paint your boat surface, with the colors you’ve chosen. Sometimes it is more than necessary to sand the surface once more before applying the finish, so it is up to you to determine whether you should do this or not. Simply take a close look at the surface and see if something needs to be fixed.
The main problem with boat paint is the fact that many paints have harmful chemicals to marine life as it weathers in the water. This is why you should check whether your chosen paint is environment-friendly.
When painting, make sure follow the recommended cure-time between coats as well.
For some surfaces, you should use paint and epoxy mixer. Check the instructions on your chosen paint.
Once done, grab a friend to help you apply the paint finish with a roller and brush. You can do it yourself as well, but chances are that you will get much better results if you have someone by your side to help you out.
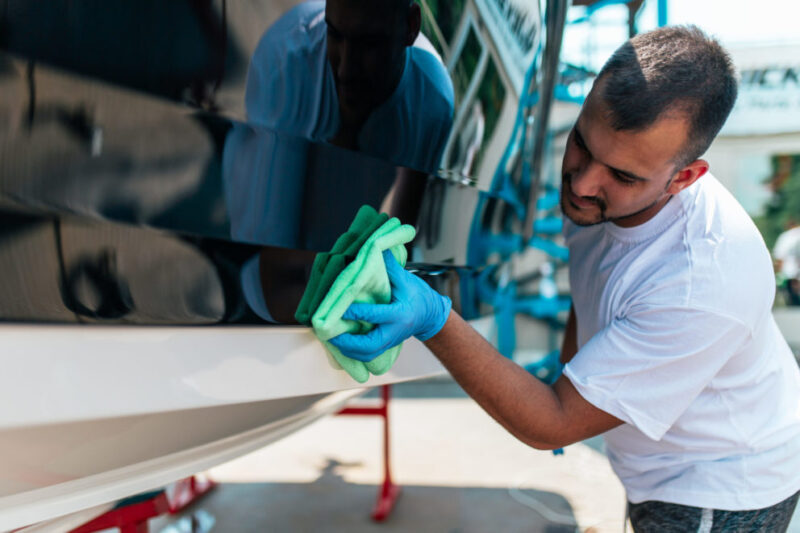
4. Wax and Polish the Boat to Preserve the Boat Painting
After you’ve done all the preparations and after you’ve painted the boat completely, there is one last step you should make. Before you finish, consider polishing or buffing your boat. Why do you need to polish it?
Polishing removes the pitted surface and evens it out. Most polish products already contain wax in their formulations, which is great and helps you finish the process faster and more conveniently. That being said, choosing a polish product with this element is a good idea that you should consider.
However, if this is not the case, the final step would be to apply wax or gel coat on the boat as part of boat maintenance. Waxing the boat will protect the new paint job from wear, tear, and saltwater. Most brands have various application methods but often involve using a cloth or foam pad. This is a crucial thing for your painting process, since it not only protects the boat, but it also helps the color to last longer (and makes your water friend beautiful for a longer time).
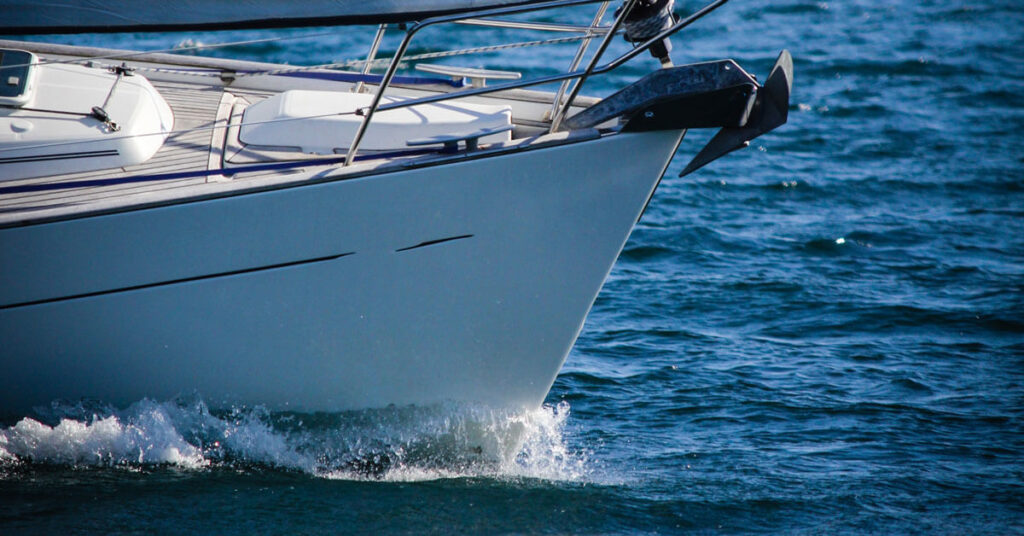
Paint Your Boat the Proper Way Today
As we’ve already mentioned, these are some boat painting tips for your next maintenance. We hope you learned something valuable. After painting your boat, you are now ready for a trip.
Still, painting your boat is only a part of your maintenance process. Look for more tips to protect your investment longer.
If you enjoyed our posts and want to see more, check our other posts now.