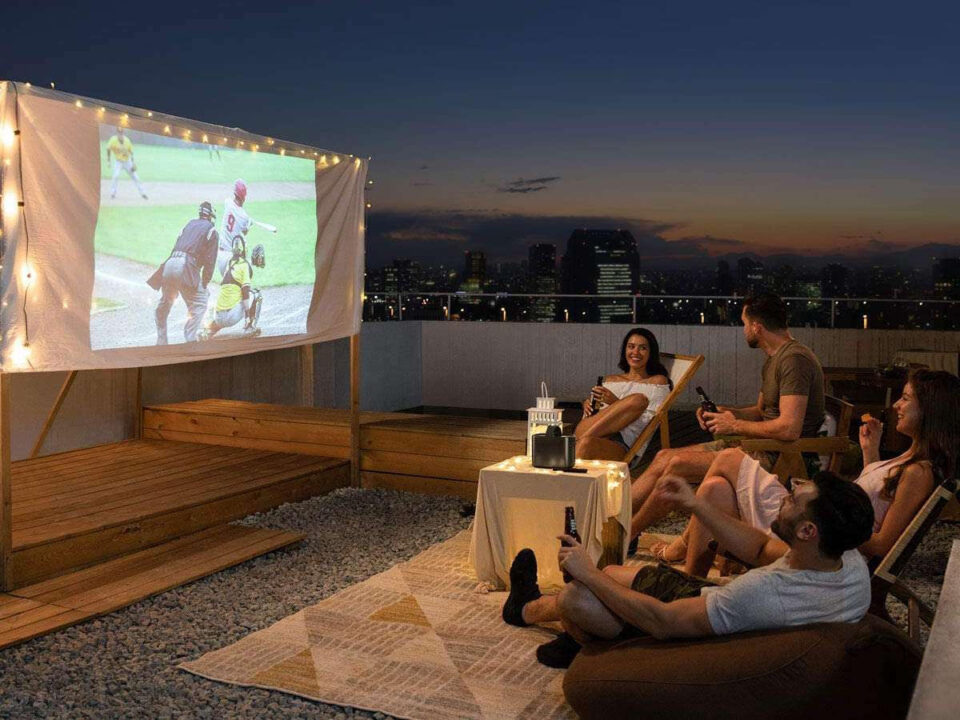
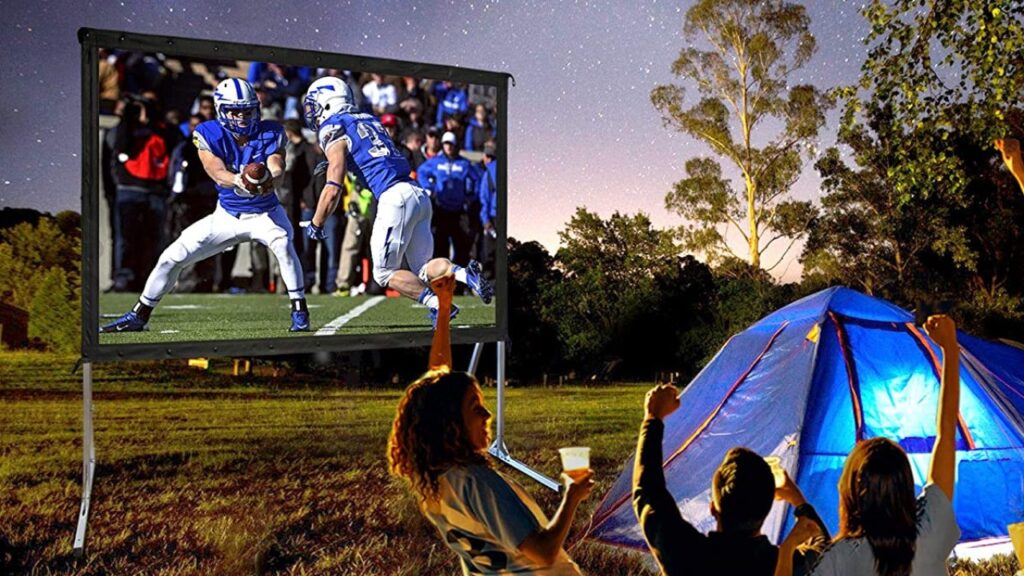
With summer comes an abundance of opportunities for outdoor adventure, from visiting the beach to going on a camping trip. With the sun shining down and the temperature rising, there’s something magical about being outdoors. But when you’re heading outdoors, there are some preparations you need to make — and that includes figuring out your entertainment options. Depending on where you’re going and who you’re bringing, that might involve bringing a projector along.
Projectors can be great for outdoor excursions, creating the perfect backdrop for movie nights or slideshows of your recent travels. But is it even possible to use a projector outside in the daytime?
The answer is yes! Yes, it is absolutely possible to use a projector outside during the day — you just need to know the right techniques, which we’ll discuss in this post. Here, we’ll provide a step-by-step guide on how to properly use a projector outside during the day. So let’s get to it!
Quick Clarification of Key Points
So you probably already know about the best living room projectors but to be able to project an image outdoors during the day you will need to use a projector with a very high lumens output. You could also consider using a reflective surface such as a white wall or panel behind your projected image to help increase brightness.
Using a projector outdoors during the day can be challenging due to the limitations of daylight. It is important to find the ideal time of day when there is enough light for projection, but not too much that it interferes with the presentation.
When choosing the right time to use a projector outside, there are a few things to consider. First and foremost, it is important to take into account the weather forecast and choose a day with good weather conditions—no rain or inclement weather expected. Secondly, look at how much natural light will be available when you are planning to use your projector.
Early mornings and late afternoons tend to be ideal times when the sun is low on the horizon and there is more ambient light than direct sunlight. This helps minimize glare and reflections because direct sunlight can distort the image quality.
On the other hand, some may prefer presenteeing in direct sunlight as it gives an outdoor setting with energy and atmosphere. A sunlit environment can also create interesting visuals from shadow play on the projection surface if you’re looking for something creative. However, this usually requires brighter projectors, so these should be taken into account for optimal results.
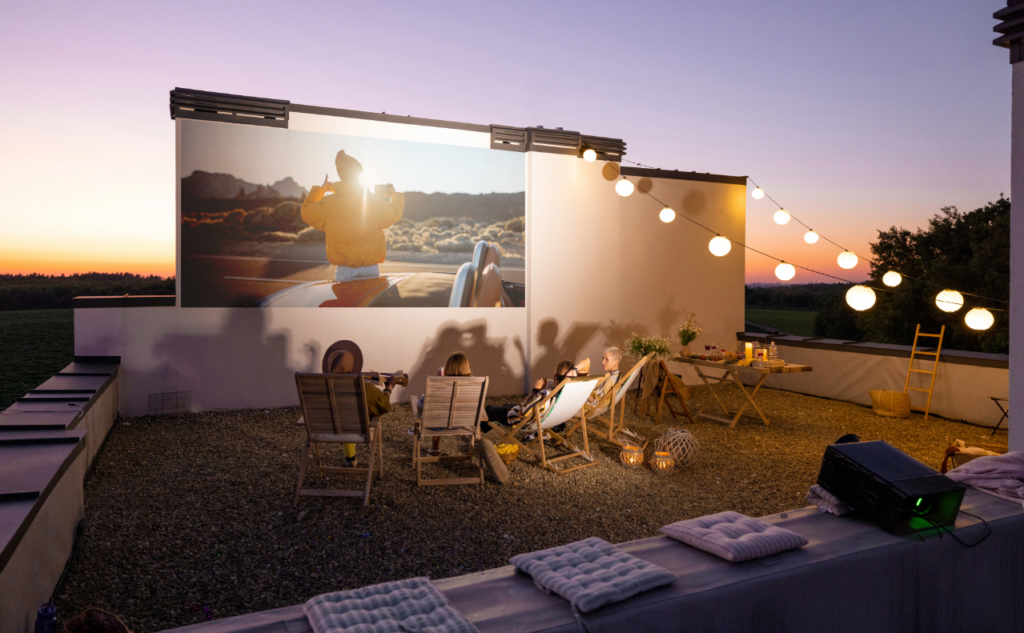
Regardless of whether you’re planning to project in ambient light or sunlit settings, finding the ideal time window for your presentation is key for successful outdoor projector use. Once you have chosen the best time of day for your presentation, positioning your projector correctly to avoid sunlight and glare will be your next task, which we will discuss in our following section.
Positioning the Projector to Avoid Sunlight and Glare

Positioning the projector to avoid sunlight and glare is essential for successful outdoor projection. The most obvious challenge to overcome is the potential for direct sunlight or light from nearby sources to hit your projector lens, resulting in washed out visuals with poor contrast.
To ensure quality viewing conditions, placing your projector in the shade or where there are no nearby sources of light is ideal. Direct sunlight should be avoided at all costs; however, even indirect sunlight may cause issues depending on how bright it is outside.
Another important factor to consider when positioning your projector outdoors is avoiding glare. Glare can ruin the projected image quality and make it difficult for viewers to watch comfortably. When possible, set up with the projector facing away from windows or reflective surfaces such as glass buildings and walls that could reflect the projection beam back onto itself. Consider using curtains or installing awnings if necessary.
Height is also important when positioning a projector outdoors, especially when you anticipate people seated and standing at various distances. Depending on your setup and surface material, an ideal height of around six to eight feet above ground level often provides optimum visuals without sacrificing convenience.
Finally, if you’re projecting on a flat wall outdoors, be sure that the surface is clean and clear of dirt and debris that could obstruct the image quality.
By properly positioning your projector outdoors and keeping sunlight and glare in mind, you can create the perfect environment for an enjoyable viewing experience. With that addressed, it’s time to look at brightness settings & contrast adjustments to get your projection looking its best.
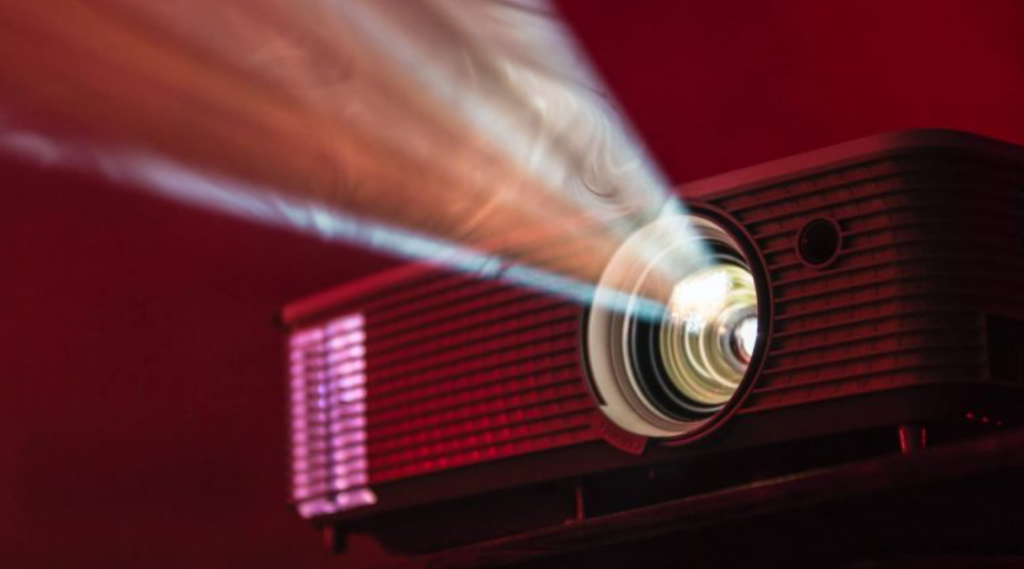
Brightness Settings & Contrast Adjustments
When using a projector outside during the day, brightness settings and contrast adjustments are of utmost importance. To get the optimal visual experience, contrast adjustors should be used to reduce washout from direct sunlight. This will help maintain the clarity of projected images.
Additionally, brightness settings should be increased to account for any ambient sunlight. Though increasing the brightness setting can lead to glare, reducing the brightness will often result in faint or washed-out images against light backgrounds.
If this isn’t possible—for example, if the projector’s manual doesn’t allow for making changes—one may need to use a higher-quality projector that has adjustable contrast and brightness settings. However, this may ultimately turn out to be more costly than buying anti-glare screens or projecting from an angle away from direct sunlight. It’s best to compare both options before making a decision.
No matter what approach is taken, when using a projector outside, the contrast and brightness settings should be adjusted accordingly for optimal image visibility in bright conditions.
After adjusting these settings and angles, the next important step in using a projector outside is filtering the sunlight with a reflective screen.
- According to a report from the University of Exeter, outdoor digital signage visibility can be gauged by projecting approximately 30-50 lumens per square foot for daytime readability.
- A study conducted by researchers at Baruch College in New York showed that projectors with higher lumen ratings (4,000 lumen or higher) and high contrast ratio (> 2000:1) result in better clarity and brighter images in outdoor settings.
- A 2020 survey from ESMA (European Signage Manufacturers Association) states that almost all respondents are using projection technology for large formats, the most popular being 15,000 ANSI lumens or greater.
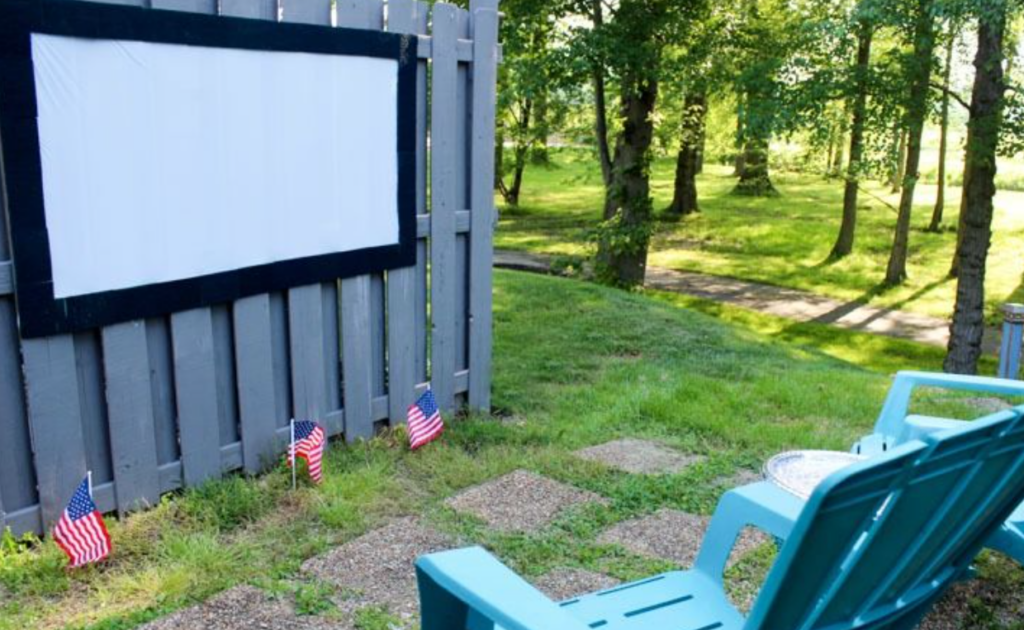
Filtering the Sunlight with a Reflective Screen
Projection screens are available in a variety of materials, including hard and soft reflective surfaces. Hard reflective screens provide the best performance in bright light but can be expensive and difficult to transport. Soft reflective surfaces can be cheaper but are less consistent in performance, which is why they are often used indoors or at night.
When considering an outdoor projector setup, many people benefit from using a whitewash type material behind the projector to help filter out most of the sunlight and make for a better viewing experience. Another way to help filter out sunlight is by using sun-blocking cloth. This helps to create an artificial shade that can be moved around as needed. The downside to this approach is that it may require re-positioning multiple times throughout the day due to changes in direct sunlight.
There are both pros and cons to each approach when it comes to filtering sunlight with reflective screens. While a hard reflective screen may offer superior performance, it can also be difficult to set up and transport from place to place depending on the size of the screen. Soft reflective screens may be easier to install, but can also suffer from inconsistent performance due to varying degrees of brightness outdoors throughout the day.
Once you decide which type of material works best for your project, the next step is choosing the right features for outdoor projection that optimize picture quality and make your presentation successful.
Choosing the Right Features for Outdoor Projection
Choosing the right features for outdoor projection is a critical step in successful outdoor projection that should not be overlooked. Factors such as brightness, resolution, and audio capabilities are all important factors to consider before making a purchase or rental decision.
When it comes to brightness, having a projector that is bright enough yet not overly expensive is the best option. This can be difficult to measure because indoor ratings are typically lower than those produced outdoors. Since projector brightness is measured in lumens and an outdoor projector needs more to counter direct sunlight, customers should make sure they select one that produces 3,000 to 8,000 lumens depending on how sunny it will be during the event.
Resolution of a projector also affects the picture clarity and size. Projectors with HD resolution are considered good quality while those with 4K resolution are considered “ultra-high” and produce videos with exceptional clarity. Additionally, UltraWide aspect ratio projectors boast wider viewable areas that allow multiple viewers to watch from different angles without losing out on image quality.
Finally, audio capabilities should not be discounted either. Make sure to look at both built-in speakers and the ability to attach external ones for larger spaces and occasions where there will be high demand for audio support.
In conclusion, there are several factors to consider when deciding which type of projector is best for an outdoor presentation or event such as brightness, resolution, and audio capability. By taking all of these elements into account before selecting a projector, customers will be able to choose the one that matches their needs and budget perfectly – providing a positive experience both in terms of performance and budget efficiency.
With the right features in hand, it’s time to discuss the importance of adjustability and visibility when setting up an outdoor projection system – topics we will cover in the next section.
Adjustability and Visibility
Adjustability and Visibility are two important aspects to consider when using a projector outdoors during the day. Choosing just the right location to ensure maximum visibility is key, as well as knowing how to adjust the projector to fit your specific needs. It is important to avoid shadows and low-light situations which can make it difficult for viewers to clearly see the projected image.
When adjusting the image of a projector, brightness should be a top priority. Make sure the light levels in your chosen space aren’t so intense that they interfere with the clarity of your projected image. To do this, you may need to work with shades, open up a window in the area or use reflectors and diffusers.
Additionally, you should consider increasing the brightness of your projector by increasing its lumens or watts, if possible. This will help you maximize visibility under bright outdoor conditions.
Another important factor is size adjustments. You’ll want to adjust the image size according to your space so that viewers can get an optimal experience from their viewing angle. You may need to increase or decrease the size of the projected image depending on how far away it is from viewers in order to remain clear and visible. If your projector has zoom features this should be relatively easy but if not you may need other tools like grids or standing supports.
Finally, orientation is important. The projector should be set upright if it’s going to be used outdoors since frequent wind gusts may cause it to move around leading to distortion of the image. After all these measures have been considered and implemented, you should also check periodically throughout your event that visibility remains ideal for all viewers.
With optimal adjustability and visibility established, it’s time to focus on ensuring your projector is fit for outdoor use.
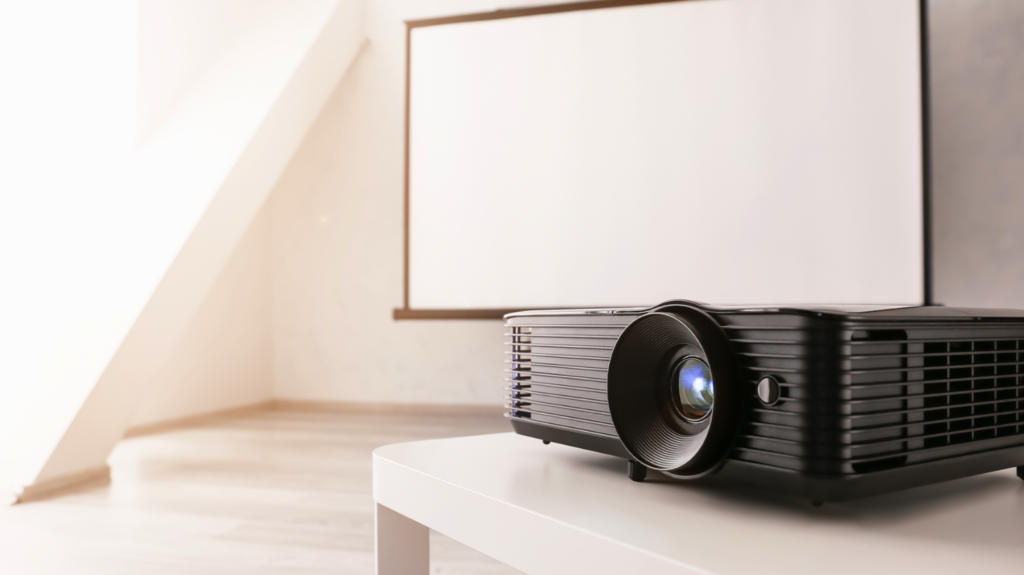
Ensuring Your Projector is Fit for Outdoor Use
When it comes to using a projector outside during the day, taking steps to ensure that your projector is fit for outdoor use is essential. Depending on the type of projector you are using and the location of your projection setup, there may be additional measures that need to be taken to ensure its proper use in an outdoor environment.
If you’re using a home theatre projector for your outdoor projections, there may be an air filter and exhaust fan located near the lamp that can often become clogged with dust or dirt and will need to be cleaned regularly. If you choose to use one of these projectors outdoors, make sure that there is good airflow around it.
There are also projectors made specifically for outdoor use that have features like weatherproof housing and filters that are designed to keep debris from entering the casing and interfering with the internal components. These projectors are typically much more expensive than regular projectors, so it is important to consider if their extra features are worth the cost based on where you plan on projecting and the environmental conditions in which you will be using them.
It’s also important to note that positioning your projector correctly outdoors is key. Depending on where you’re projecting and how far away your screen is, some manual adjustment of the focus may be necessary by adjusting the lens at its mount point. Laser projectors also require frequent exposure calibrations when being used in bright daylight as sunlight can quickly shift the state of projected image over a short period of time.
To ensure successful outdoor projection no matter which type of projector you are using, always take into consideration any potential environmental factors such as wind, sand, water or dirt that could affect your equipment negatively when used in those conditions. Taking proper measures beforehand will make all the difference when using a projector outside during the day.
Now that we have discussed how to ensure your projector is fit for outdoor use, let’s learn about how to make the most of your outdoor projection time in our next section.
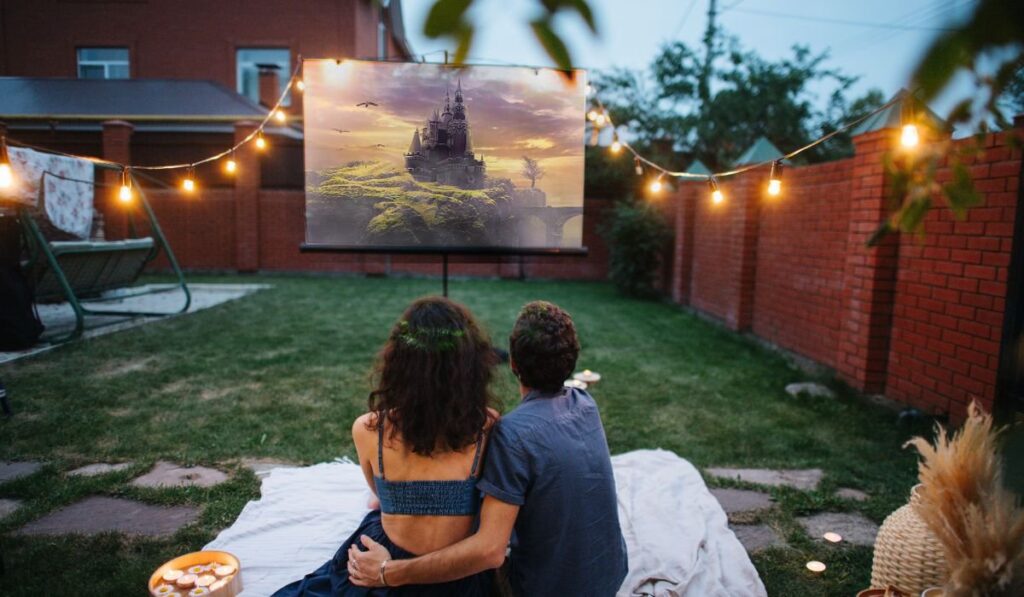
How to Make the Most of Your Outdoor Projection Time

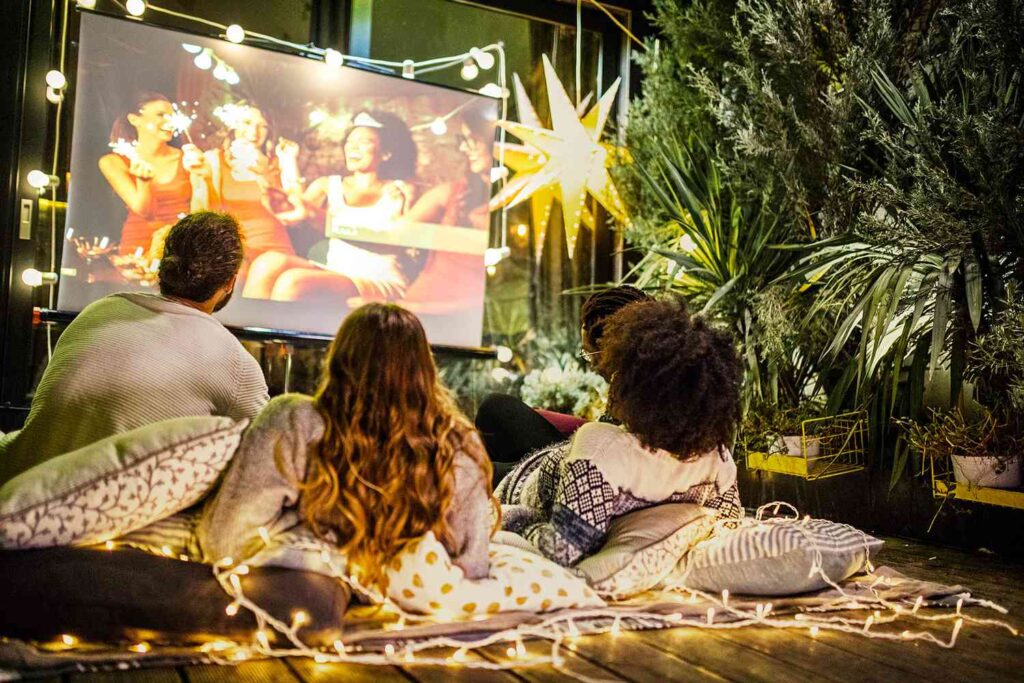
When using a projector outside during the day, it is essential to make the most of your time. One key factor to consider when using a projector outdoors is the desired audience size.
If you need to project onto a screen that can be seen by a large number of people, the size of the screen will have to be bigger than if you were projecting for a small crowd. Furthermore, if you are projecting to a large audience, then you will need more power and brighter colors than if you were presenting in an indoor setting.
Additionally, ambient light should always be taken into account when using outdoor projectors. There needs to be enough power behind the projector itself to overcome any natural sunlight from reflecting or reflecting off of surfaces in the area.
Many times, this is done through high output short throw projectors that are specifically made for outdoor projection uses. If you are dealing with direct sunlight, you may want to consider investing in an overly bright projector so the colors can still pop against the daylight and be visible from far away distances.
Finally, proper alignment and setting up your projector correctly is important regardless of whether it’s outdoors or indoors. If it isn’t properly placed and adjusted in relation to the distance of your display or where audience members would be watching from, it could result in blurry pictures or reduced brightness that won’t provide an enjoyable viewing experience. This is true both indoors and outdoors – proper setup and adjustment are key.
Typically, when working with outdoor projection setups, many details have to be taken into consideration during planning stages as well as while you’re actively using your projector during your presentation time. All these factors combined will allow you to make sure any audience members observing your content will have a pleasant viewing experience while also having maximum impact on your message!
Conclusion: By following these steps and taking into account appropriate factors like desired audience size and ambient lighting conditions, you should have no problem making the most of your outdoor projection time and providing vivid visuals for those observing your content! In the next section we’ll look at how to wrap up your outdoor projection presentation successfully.
Most Important Points
When using a projector outdoors, it is important to consider the size of the audience, the ambient lighting conditions, and the proper setup and alignment in order to ensure a pleasant viewing experience for those observing the presentation.
Furthermore, considerations should also be made during the planning stages in order to maximize the effectiveness of your outdoor projection.
Conclusion
Setting up a projector outdoors during the day is possible, but it requires careful consideration and planning. Projectors designed for outdoor use may be your best bet, as they come with all the necessary features for successful outdoor projection. In any case, always ensure that you have proper lighting control and a clear projection surface in order to show off your presentation in the best way possible.
When deciding between using an indoor or outdoor projector, an important factor to consider is cost. Indoor projectors are typically cheaper than outdoor ones, but if you’re looking for a more permanent solution that can handle intense sunlight without any issues, then investing in an outdoor projector might be the right choice.
However, if outdoor light won’t be much of a problem, then going with an indoor projector could save you some money while giving you access to features like HD resolution and high contrast levels.
Overall, whether you ultimately decide to go with an indoor or outdoor projector will depend on the nature of your presentation and the amount of light that will be present during your event or meeting. You should take all factors into consideration before making a final decision so that you can ensure that your presentation goes off without a hitch.
Answers to Commonly Asked Questions
What type of projector is best suited for outdoor use during the day?
The best type of projector for outdoor use during the day is a high-quality, ultra-bright projector with HD resolution. These projectors make images stand out against bright environments such as direct sunlight, without compromising on image quality.
High brightness ensures the picture is visible even outdoors in the middle of the day. Additionally, higher resolution makes sure the picture remains crisp and clear no matter what the environment which means you can enjoy stunning visuals regardless of external conditions.
What other equipment is needed to project images outdoors during the day?
In order to project images outdoors during the day, several additional pieces of equipment are essential. Primarily, a projector screen or other reflective surface is necessary in order to ensure that the image is projected accurately and clearly.
Additionally, a power source is essential, either through an extension cord or a portable generator, depending on the distance from an electrical outlet. Finally, if the area is not within range of a wireless connection, an HDMI cable should be used to connect the projector to a laptop or another device.
What preparations should I make to use a projector outdoors during the day?

When using a projector outdoors during the day there are a few important preparations that you should make to ensure success.
First, you will need to secure the projector so it is safe and stable even in windy conditions. It is important to find a location that has some protection from wind and rain, such as a covered patio or shade trees. You should also consider if the sun could cause a glare on the projection surface, which could cause visibility issues. Consider investing in an outdoor projector mount or stand.
Secondly, you will need to ensure your portable projector is equipped for outdoor coverage by boosting your brightness levels and brightness ratio. This is best achieved through careful selection of compatible audio and video equipment, along with adjusting settings on the device itself. You may also need to invest in a good quality screen specifically designed for outdoor use due to its ability to produce a brighter picture than standard indoor screens.
Finally, you should ensure that you have all the necessary cables needed for running your equipment outdoors. Cables such as HDMI cables, VGA cables, power cables etc., should all be securely connected prior to setting up your projector so that operation is smooth and flawless.
By following these simple steps and taking some time to properly prepare your projector before using it outdoors you can ensure an enjoyable presentation experience both for yourself and your audience.