Nearly 70 percent of home gym owners say that equipment placement affects how often they work out. A poorly positioned wall mount can lead to awkward posture, wasted space, and even damage to your walls. Many people focus on buying the right screen or fitness device but overlook the mounting details that determine daily usability.
A well-planned home gym wall mount guide helps you install equipment safely and position displays where they feel natural during movement. The right height, strong anchors, and proper viewing angles make workouts smoother and reduce strain on your neck and shoulders.
This guide explains how to find studs, choose anchors, determine mounting height, and set comfortable viewing angles for a home gym setup that works long term.
Why Proper Wall Mounting Matters in a Home Gym
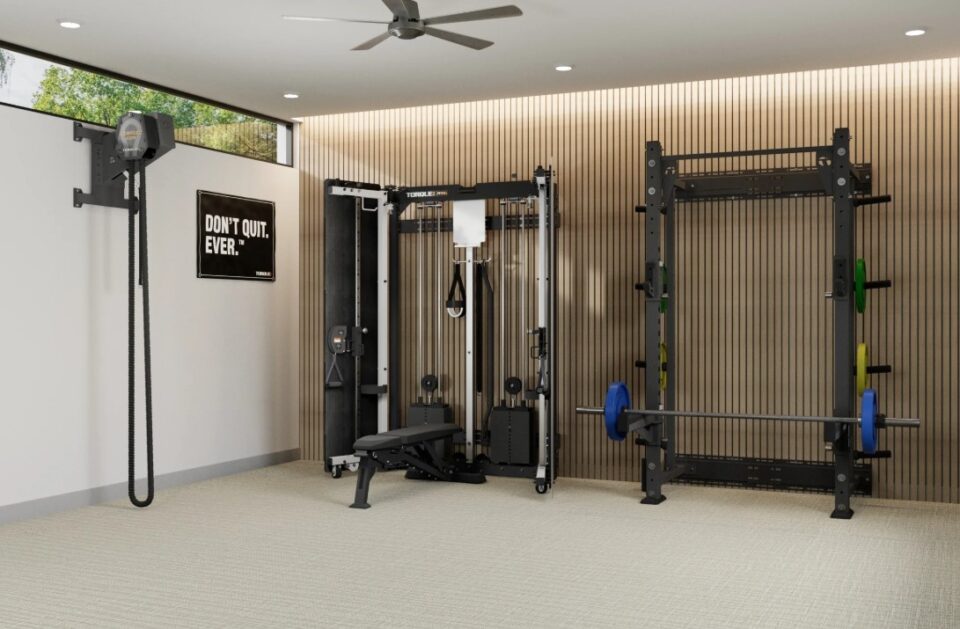
Wall mounting equipment saves floor space and keeps workout areas organized. Screens, mirrors, or smart trainers become easier to use when they sit at eye level and stay stable during movement.
Mounting mistakes often lead to common problems:
- A poorly secured bracket can loosen over time and damage drywall or plaster.
- Incorrect height forces you to tilt your head up or down during longer sessions.
- Weak anchors may fail when vibration from workouts transfers into the wall.
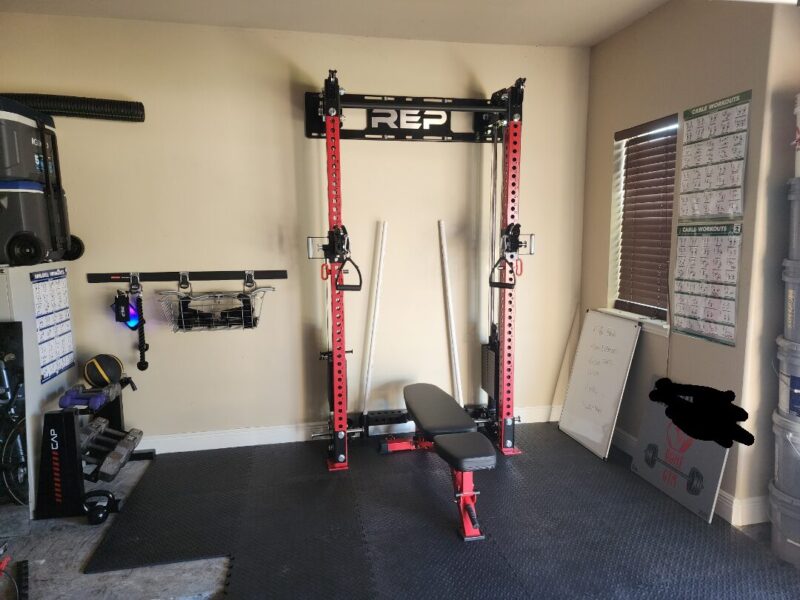
Many people install mounts without checking structural support. Drywall alone cannot safely hold most fitness screens or adjustable arms.
Some people plan their setups using online layout tools and measurement references. When mapping positions digitally, apps like Fit Viz help visualize equipment spacing and wall placement before drilling holes. A preview of clearances often prevents mistakes that are difficult to fix later.
Planning ahead reduces reinstallation work and protects both the wall and the equipment.
How To Find Studs Accurately
Studs provide the strongest support for mounting heavy equipment.
Electronic stud finders are the easiest option, but they are not the only method. Walls vary in density and materials, so using more than one technique improves accuracy.
Several practical approaches work well:
- A quality stud finder detects density changes and usually locates studs within seconds, but slow movement across the wall improves accuracy.
- Light tapping can reveal a solid sound where wood framing sits and a hollow tone between studs.
- Measuring 16 or 24 inches from a known stud often identifies the next one because builders follow consistent spacing.
- Electrical outlets are frequently attached to the side of a stud, making them useful reference points.
Marking both edges of the stud gives you the center line, which is the safest drilling point.
Did you know?
Most residential wall studs in North America and Europe are spaced either 16 inches or 24 inches apart. Confirming spacing helps predict stud positions across a full wall.
Choosing The Right Anchors When Studs Are Not Available
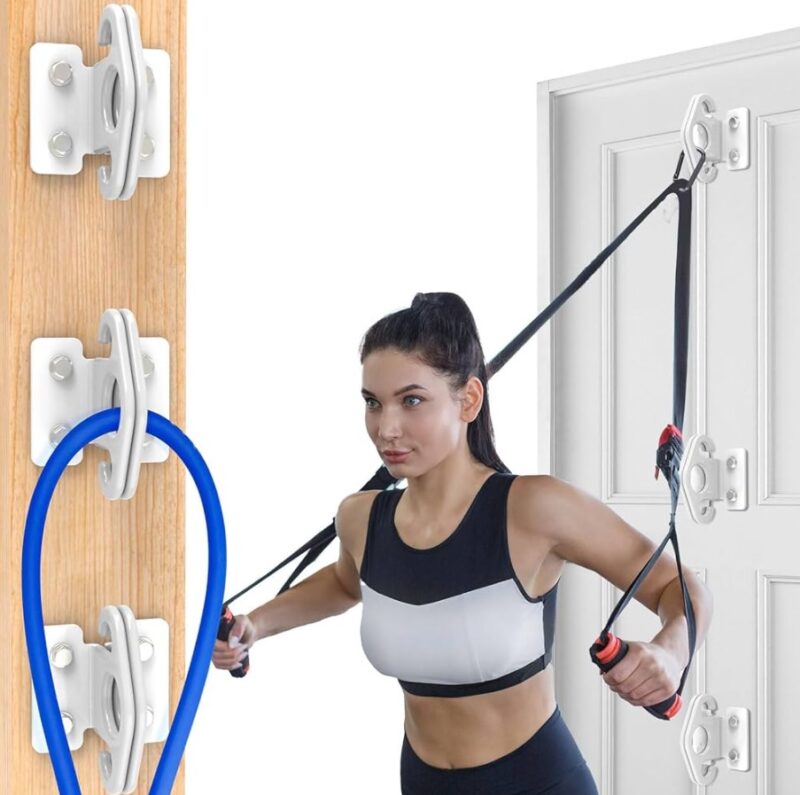
Sometimes equipment must be mounted where studs are not accessible. In those cases, strong anchors become essential.
Drywall anchors vary widely in strength and reliability. Plastic expansion anchors are suitable only for lightweight accessories and rarely support fitness equipment safely.
Better anchor choices include:
- Toggle bolts spread load across a wider area behind drywall and handle heavier weight than standard anchors.
- Metal self drilling anchors work well for medium loads and are easier to install than toggle bolts.
- Heavy duty wall anchors rated for gym equipment provide the highest load capacity in drywall installations.
Anchor weight ratings should exceed the equipment weight by a comfortable margin.
|
Anchor Type |
Typical Capacity |
Best Use |
| Plastic anchors | 10 to 25 lbs | Light accessories |
| Metal anchors | 25 to 75 lbs | Medium equipment |
| Toggle bolts | 50 to 100+ lbs | Heavy mounts |
Weight ratings assume proper installation. Using undersized anchors is a common cause of mount failure.
Always verify wall material before drilling because plaster and brick require different hardware.
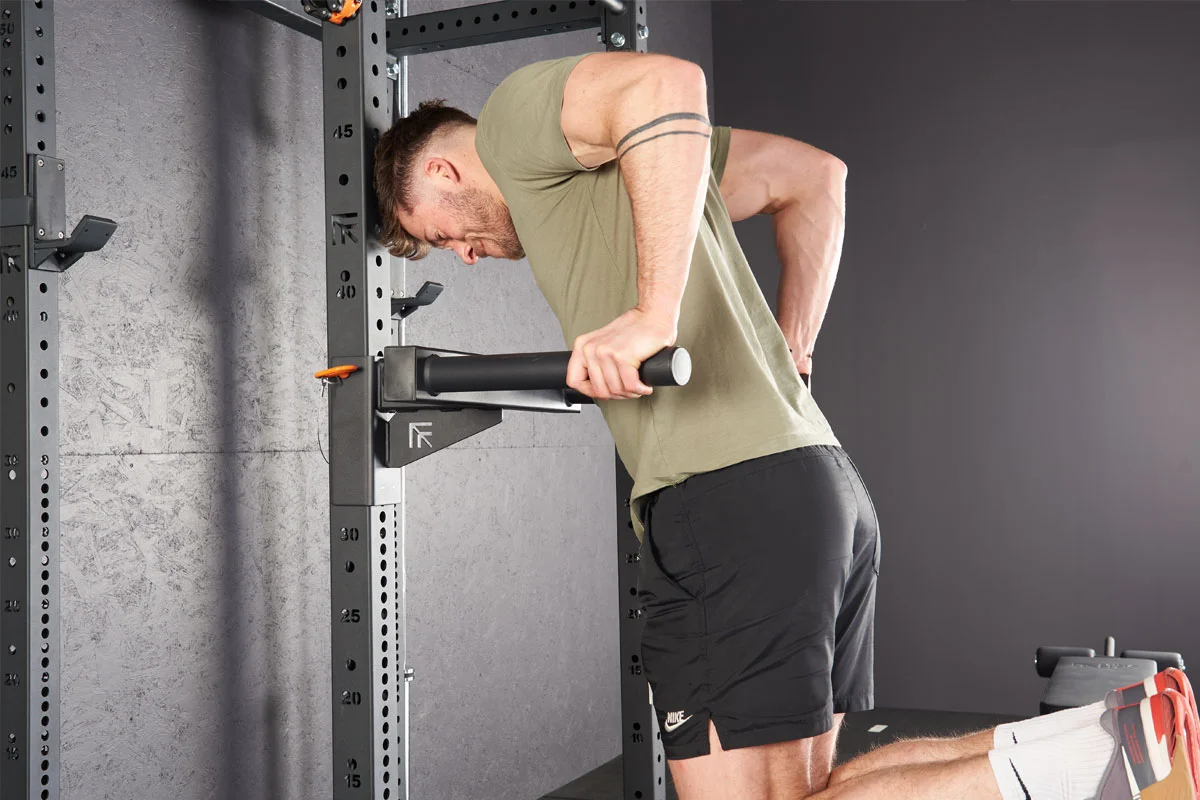
Determining The Ideal Mounting Height
Correct height placement makes workouts more comfortable and reduces unnecessary strain. We recommend setting mounts based on viewing posture rather than wall measurements alone.
Standing workouts require different placement than seated training. The center of the screen or display should align close to eye level during the most common activity.
General positioning recommendations include:
- Standing workouts usually work best when the display center sits between 57 and 65 inches from the floor.
- Cycling or rowing setups often require slightly lower mounting around 48 to 55 inches.
- Adjustable mounts allow multiple users to fine tune the height.
Mounting too high is one of the most frequent installation mistakes. Many people follow living room TV guidelines, which do not translate well to active movement.
Measure eye level while standing in workout shoes because footwear can change posture height slightly.
Safety Checks Before Final Installation
Final checks help prevent long term issues and improve reliability. Many mounting problems appear weeks after installation rather than immediately.
A careful inspection should include the following steps:
- Confirm that all bolts sit firmly against the bracket without gaps.
- Test the mount with gradual pressure before attaching expensive equipment.
- Recheck stud placement markings before drilling final holes.
- Use a level tool to confirm horizontal alignment.
- Tighten hardware again after the first week of use.
Movement during workouts creates small vibrations that can loosen bolts over time.
Checking mounts periodically helps prevent damage and keeps equipment secure.
Cable Management And Wall Protection
Clean cable routing improves both safety and usability. Loose wires create tripping hazards and make cleaning difficult.
Planning cable paths before mounting equipment helps avoid unnecessary wall damage later.
Good cable organization often includes:
- Running cables along studs where possible for easier fastening.
- Using cable clips to prevent tension on connectors.
- Leaving small slack loops to allow mount adjustments.
- Avoiding tight bends that strain power cords.
Protective wall pads or backing plates reduce surface wear behind adjustable mounts.
Neat cable management makes equipment easier to maintain and keeps the workout area visually calm.
Conclusion
A well installed wall mount improves both safety and workout comfort. Strong structural support, correct anchors, and thoughtful positioning turn a basic installation into a reliable daily setup.
Taking time to measure height and test viewing angles makes equipment easier to use and reduces physical strain. Small details such as stud placement and anchor strength determine how long the installation will last.
Careful planning helps avoid unnecessary repairs and keeps the home gym working smoothly for years. A practical approach to mounting makes the space feel organized and dependable every time you train.