If you attend or manage a lot of webinars, then you might already know that sometimes we need to record them as well. There are times when a host would like to record a webinar while other members can also record it for future reference. In either of these cases, you can consider using a tool like Wondershare DemoCreator to record webinars on the go. Therefore, in this post, I will let you know how you can use the computer screen recorder to capture and edit your webinar videos without any hassle.
Part 1: Why you Might Wish to Record Webinars?

Since webinars host a live interaction between different individuals, there is no default solution for recording them. Let’s say you have participated in an important webinar and would like to retain the shared information. In this case, recording the webinar would be an ideal option and you can rewatch it whenever needed to gain valuable insights.
Apart from that, if you are hosting a webinar on an important topic, then recording it would be quite resourceful. Once you record a webinar, you can share the video with others as an asynchronous learning medium or can even upload it on your YouTube channel.
Part 2: How to Record your Webinars with DemoCreator and Edit your Videos?
Out of all the available options, I would recommend using Wondershare DemoCreator to record webinars and even edit your videos. The desktop application is super easy to use and is equipped with tons of high-end video recording features. For instance, if you want, you can integrate your webcam or microphone’s input while recording your screen and can even draw objects in between.
Once the webinar has been recorded, DemoCreator can further help you edit your videos by including all kinds of transitions and filters. It can also let you automatically generate captions for the recorded webinar so that you don’t have to invest your time and resources to work on subtitles manually.
Step 1: Launch DemoCreator and Select a Recording Mode
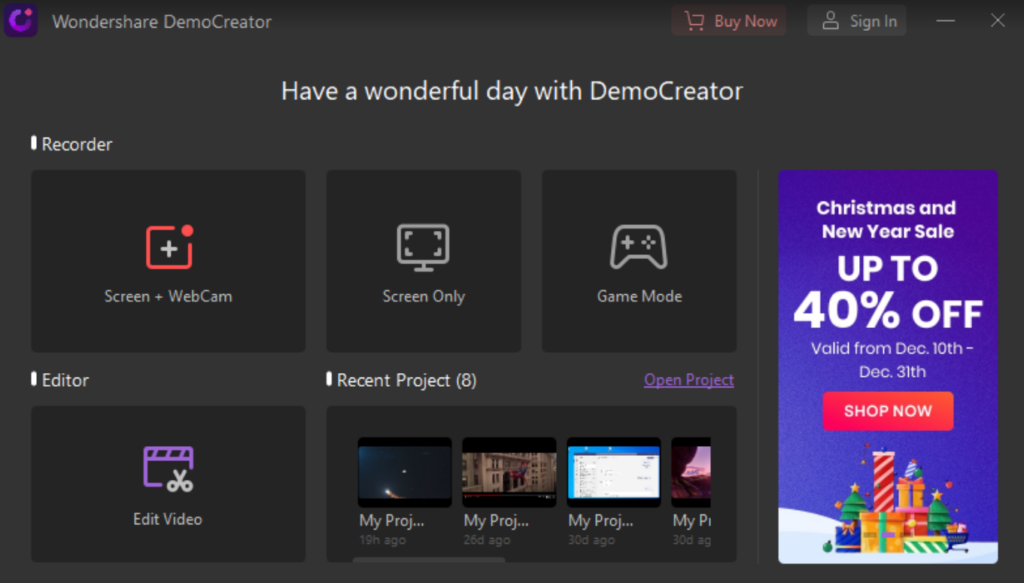
Whenever you want to record a webinar, you can launch Wondershare DemoCreator on your system, and select a recording mode. For instance, you can choose to record only your system’s screen, screen with webcam, or screen with webcam and microphone.
As you would proceed, you can set up your preferences for video recording. Here, you can manually set up the recording area for your webinar and even configure inputs for the system’s audio, microphone, or webcam.
Step 2: Start Recording your Video with DemoCreator

That’s it! Once you have set up your preferences, you can click on the recording icon (the red button) to record your webinar. A timer would be displayed on the screen as DemoCreator would start recording your video.
While recording your videos, you can also get a dedicated drawing toolbar that would let you draw anything or focus on specific areas while recording.
After you are done recording your webinar, you can launch DemoCreator, and click on the Stop icon to save the video recording.
Step 3: Clip out Unwanted Parts from your Recorded Videos
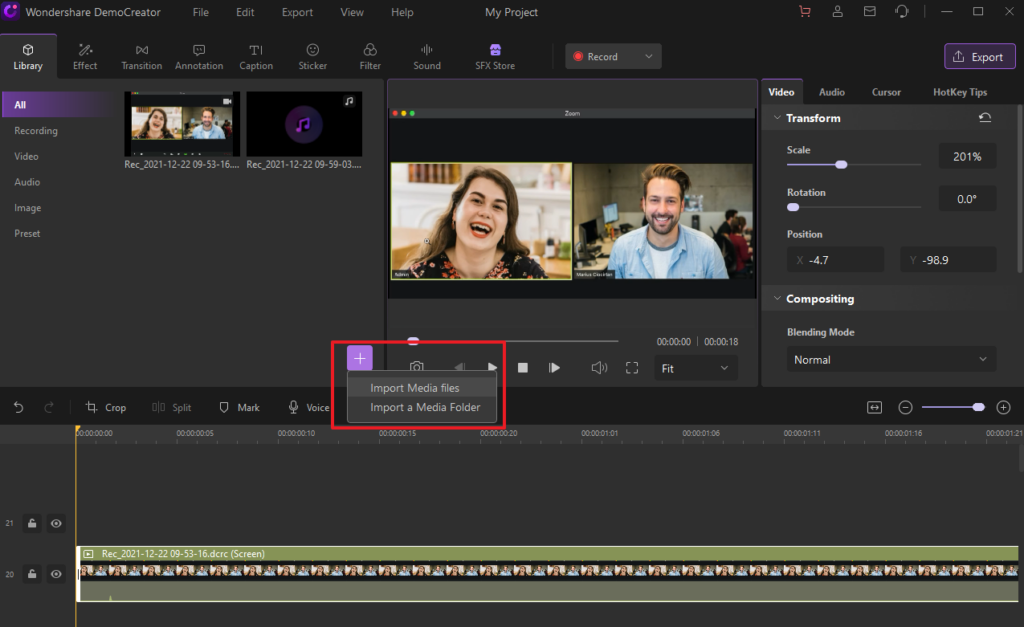
Great! Once you have recorded your video, you can launch DemoCreator, and go to its Video Editor interface.
Here, you can also load the video that you have recorded and add it to the timeline at the bottom to start editing.
Now, you can just hover the mouse pointer at the end of the clip and wait for it to turn purple. You can now move the pointer accordingly to cut out any unwanted parts from the recorded video.
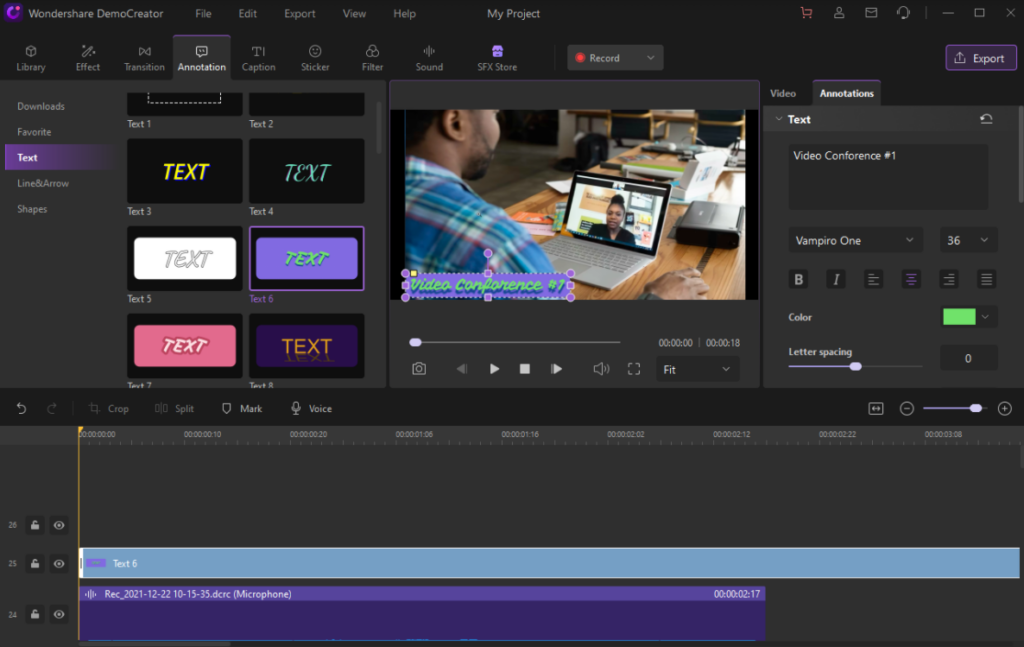
Step 4: Generate Captions or Add Annotations
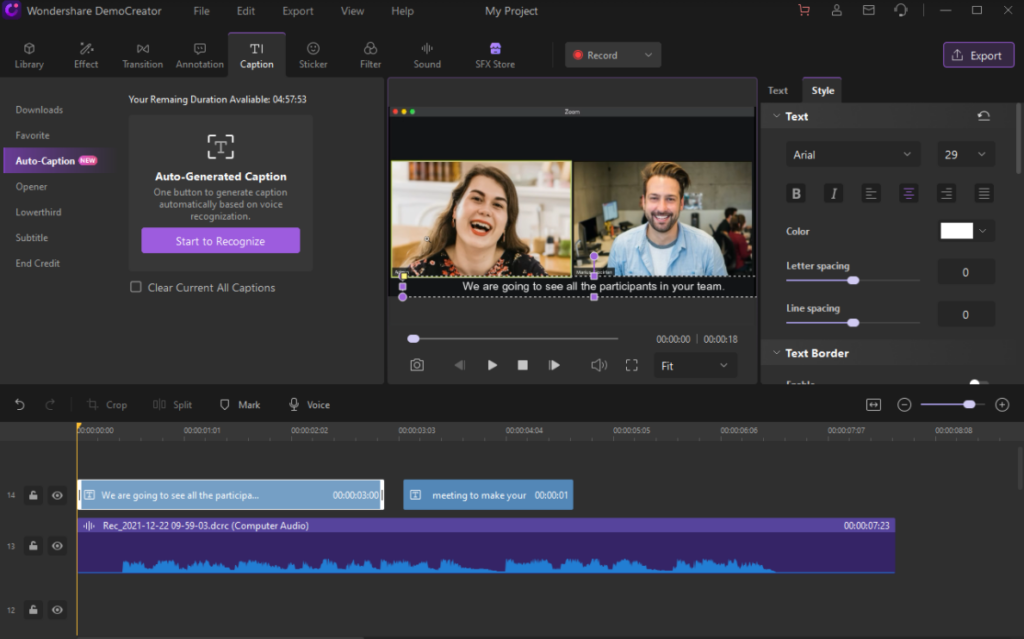
After you will record a webinar, you might need to add all kinds of captions or annotations to your video. This is where DemoCreator would come in handy as it comes with an inbuilt Automatic Caption feature. To use it, you can just go to the “Captions” category from the top and click on the “Auto Caption” button from the sidebar. Subsequently, you can even select a language in which you want to generate the caption for your video.
Once your captions are generated by DemoCreator, you can go to its properties to change the appearance of your text and implement other stunning caption effects.
Besides that, you can add numerous other stunning annotation effects to your video. Just go to the “Annotations” tab from the side to browse the available effects. You can drag and drop the effect to your video at the timeline and can later customize it.
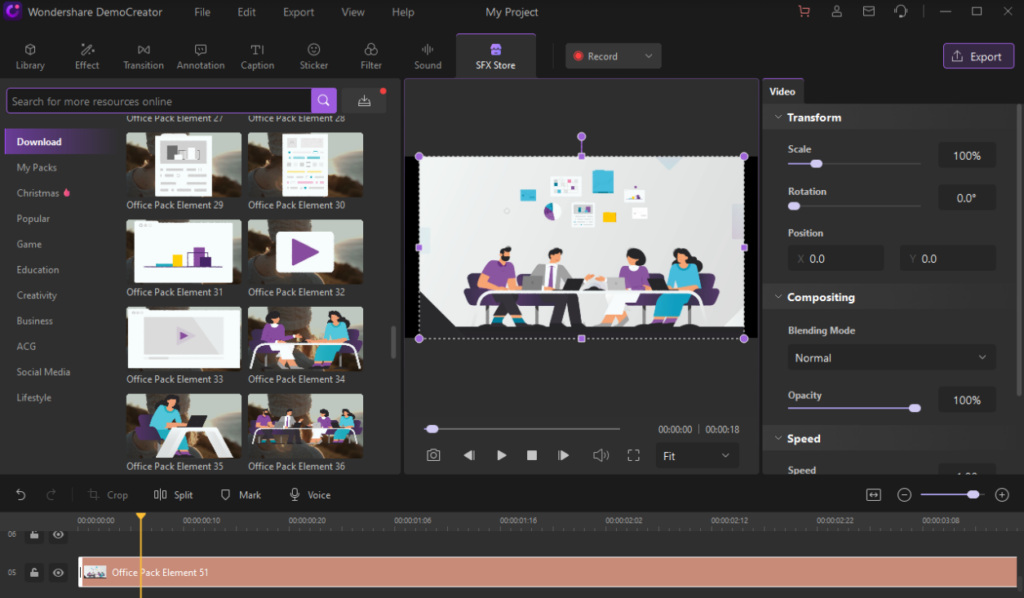
Step 5: Add Other Visually Appealing Effects with DemoCreator
There are tons of other visually appealing effects that you can add to your videos via DemoCreator. To move from one scene to another, you can simply go to the “Transitions” tab, select an appropriate transition, and add it to your video on the timeline.
In the same way, you can also add stickers, motion effects, and sound effects to your videos on DemoCreator. There is also an inbuilt Effects Store where you can explore hundreds of available templates and effects as intro and can instantly add them to your projects.
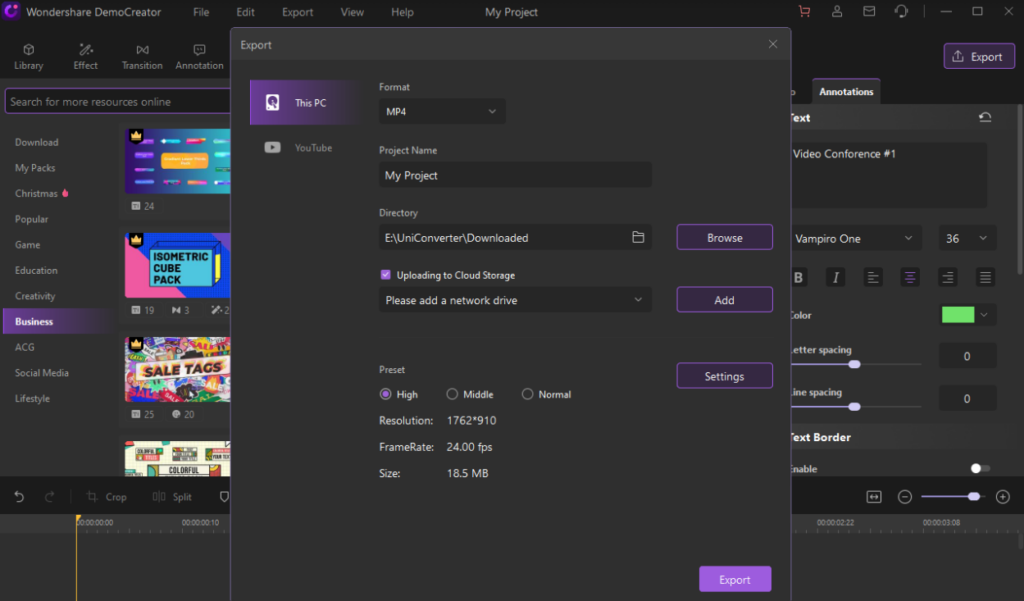
Step 6: Preview and Export the Recorded Webinar
In the end, you can simply get a preview of your recorded webinar on DemoCreator and choose to save it by clicking on the “Export” button from the top. Now, DemoCreator will let you save the video in a preferred format and resolution of your choice to any desired location on your PC.
In this way, you can simply take the assistance of DemoCreator to record a webinar and even edit the recorded video – all in one place.
Part 3: How to Make the Most of your Recorded Webinars?
As you can see, it is quite easy to record webinars with the help of Wondershare DemoCreator. Once you have maintained a recorded video of your webinars, you can start sharing it on the following platforms:
Social Media
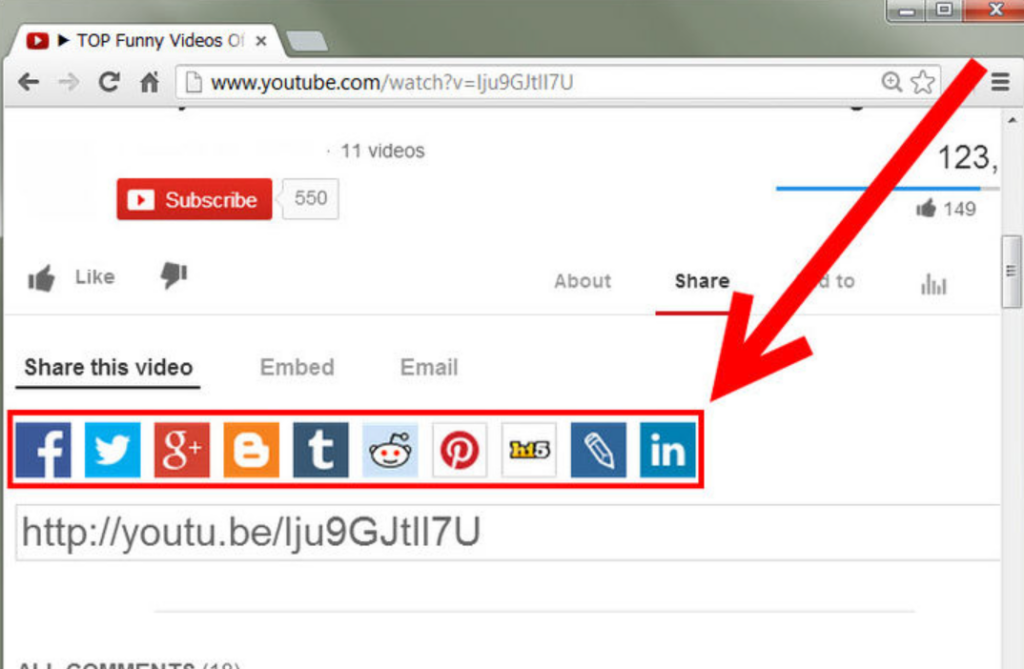
Social media platforms like YouTube, Facebook, and Instagram are some of the best ways to share your webinar videos. After recording your webinars, you can edit them using DemoCreator and simply upload them on a preferred platform. Later, you can share it with anyone you like and can even use YouTube to generate the embedding code for your videos and embed to your website.
Blogs
Apart from social media, blogs are one of the best places to share your videos. For instance, let’s say you already own a blog that is dedicated to education. Now, you can just come up with a new post and include the recorded video on it to share it with your readers and educate them about the relevant topic.
Emails
By embedding videos on your emails, you can certainly grab the attention of your audience. There are all kinds of solutions to embed your webinar video in an email to reach out to others easily and improve the overall visibility of your content.
Influencer Partnership
Most importantly, with the help of recorded video content, you can easily collaborate with other influencers.
For example, if you have conducted a webinar of 10-20 individuals, then you can share the recorded video with them, and encourage them to post it on other platforms. It can also be used to collaborate with other industry-specific influencers.
Conclusion
That’s a wrap from us! I’m sure that after following this guide, you can easily record webinars without any trouble. While there could be multiple reasons for recording webinars, DemoCreator would be an all-in-one solution to meet every requirement of yours. Using it, you can not only record your screen, but can also include the input of your microphone or webcam. Besides that, DemoCreator also includes an inbuilt video editing tool that would let you elevate the overall aesthetic appeal of your videos like a pro.